Posted by victoria nutt
on March 09, 2021
Hello! Hope you are having a good start to 2021.
A lot has been happening in my life and Little Rosy Cheeks life so far this year, including home schooling my kids (age 5 &6!). This has taken up most of my day and I've been working on Little Rosy Cheeks either in the evening or whilst the kids watch cartoons and I feel guilty. In Scotland children in primary 1-3 went back to school on 22nd February so I have been able to start ticking things off my to do list.
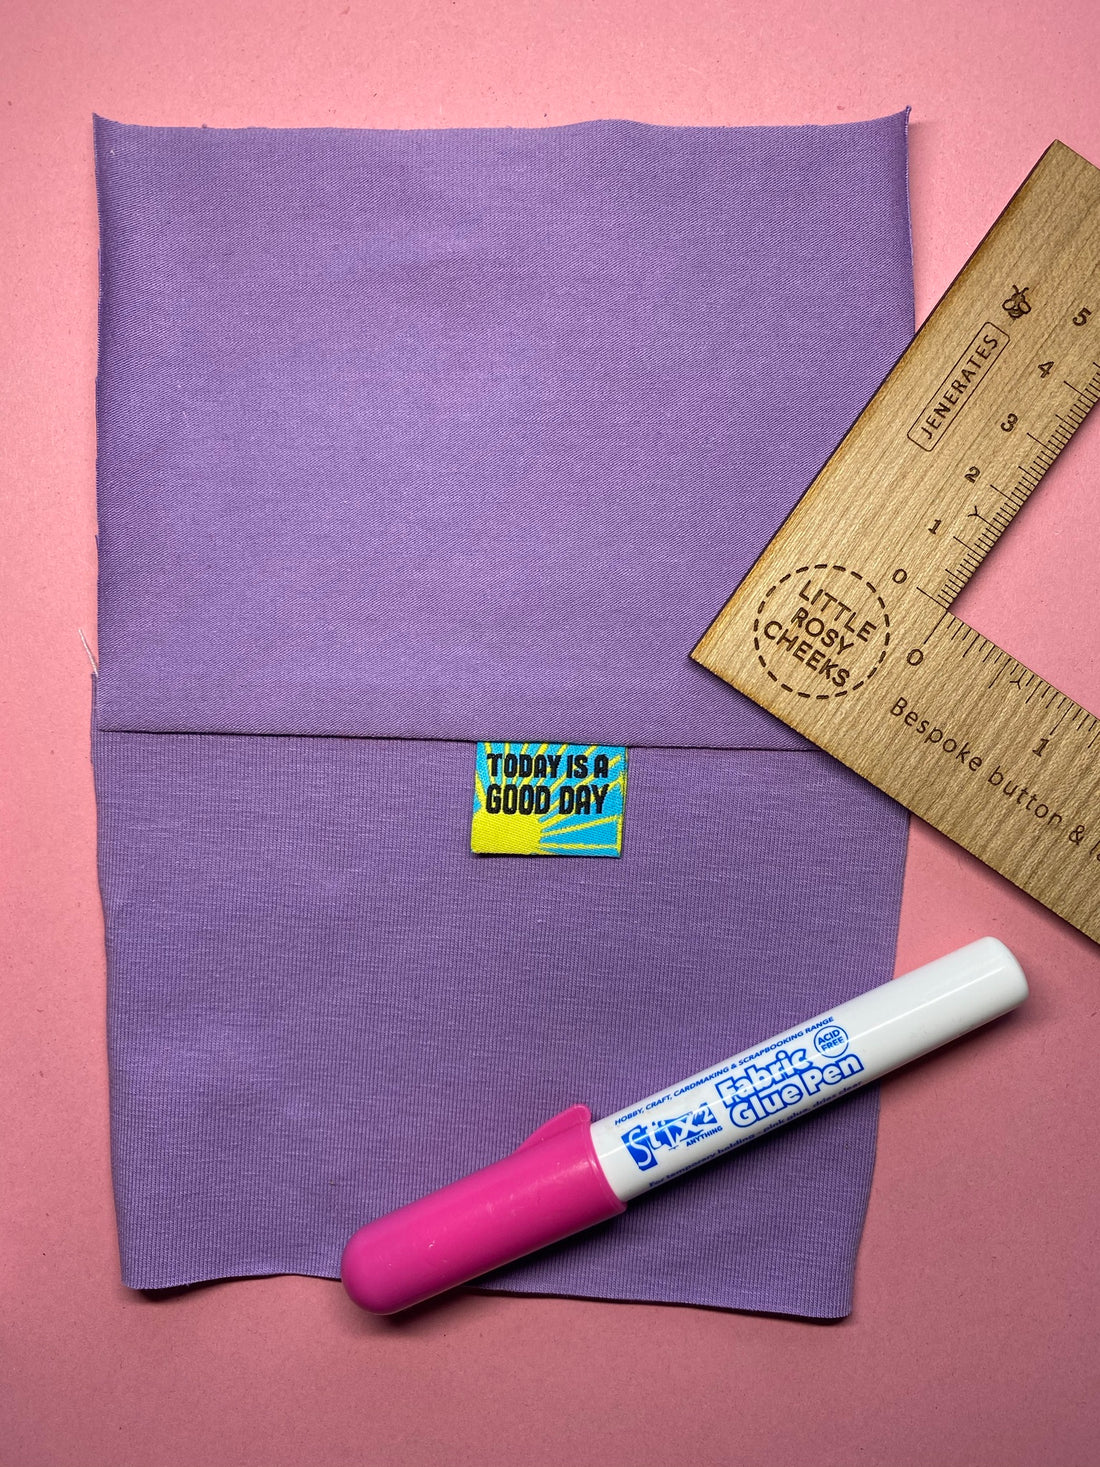
Anyway I wanted to let you know about a new product that I launched on the website in January, the Stix2 Fabric Glue Pen. I love this product and wanted to show you how it makes sewing your labels much neater and easier. I am going to show you how I insert a label into a seam. You can also see this process on my IGTV and Instagram highlights!
You will need a Stix2 glue pen, fabric marker (pen or pencil), a ruler and a label!

First up draw a stich line on your label. This will mark where you will be sewing your label in so think about how much of your label you would like to see.

Next draw your seam allowance on to your fabric. So if your seam allowance is 1.5cm, draw a line 1.5cm from the fabric edge.

Next up I put a small amount of glue on the inside of the label so that it doesn't slip about.

Then I put some glue on the back of the label and line up the stitch line on the label with the seam allowance on the fabric.


Then simply place your other piece of fabric on top and stich in place with the correct seam allowance.


And hey presto your label should be sewn into the seam neatly and just how you wanted it! Click here to buy the pen now!

